Prerequisites
HawkBudget is not a time-tracking tool. It reads your worklogs from JIRA.
This means that your worklogs are safely stored in JIRA and they will be there even if you decide to stop using HawkBudget.
This also means, though, that if you use an alternative time tracking tool and not JIRA's default one, HawkBudget may not work.
You can find more information on our FAQ page.
This means that your worklogs are safely stored in JIRA and they will be there even if you decide to stop using HawkBudget.
This also means, though, that if you use an alternative time tracking tool and not JIRA's default one, HawkBudget may not work.
You can find more information on our FAQ page.
Step 1 - Installation

|
Visit HawkBudget in the marketplace at https://marketplace.atlassian.com/1216500.
Then click on the "Try it Free" button to install HawkBudget and start your free trial. Once installed, go to JIRA's top menu > Apps > Manage your apps. Make sure your trial has started. |
Step 2 - Configuration
|
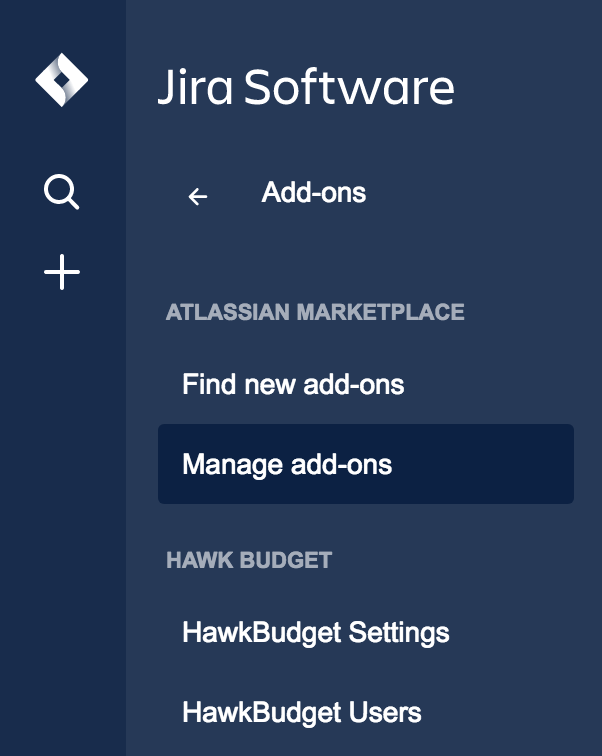
In the "Apps" page (JIRA's top menu > Apps > Manage your apps), you should be able to see two new menu items:
HawkBudget Settings
|
Step 3 - View the report

|
You can easily find the HawkBudget report from JIRA's top menu.
Go to Apps > HawkBudget Report. |
Step 4 - Enable your projects
|
In order for a project to appear in the HawkBudget report, you need to enable it.
Simply use the "Add a Project to the Report" dropdown and start adding your projects. For each new project, please follow the on-screen instructions, in order to initiate the first sync of the project. Please note that after the initial sync, the project will be kept in-sync automatically, without any need for additional actions from you. |
Step 5 - Log other expenses (Optional)
|
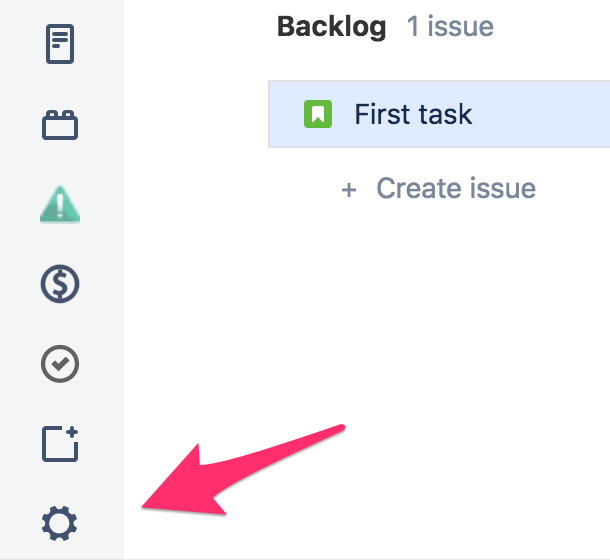
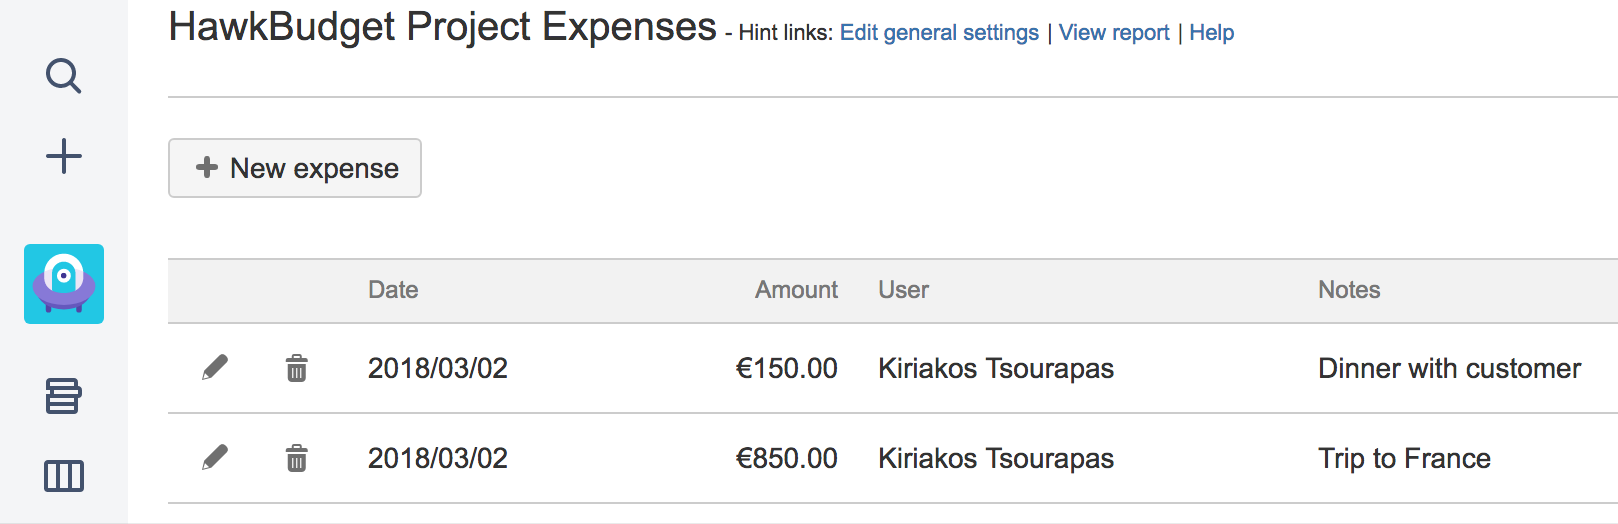
Users can log their expenses, such as trips or dinners.
In every project there is a new icon in the sidebar of the project that opens the HawkBudget Expenses page. Each user can see only his/her expenses. Only the admins can view everybody's expenses. Expenses are summed and displayed in the report. |